Hole By Hole

Bridges Golf Course 18 Hole Layout

72 Par / 7088 Yards

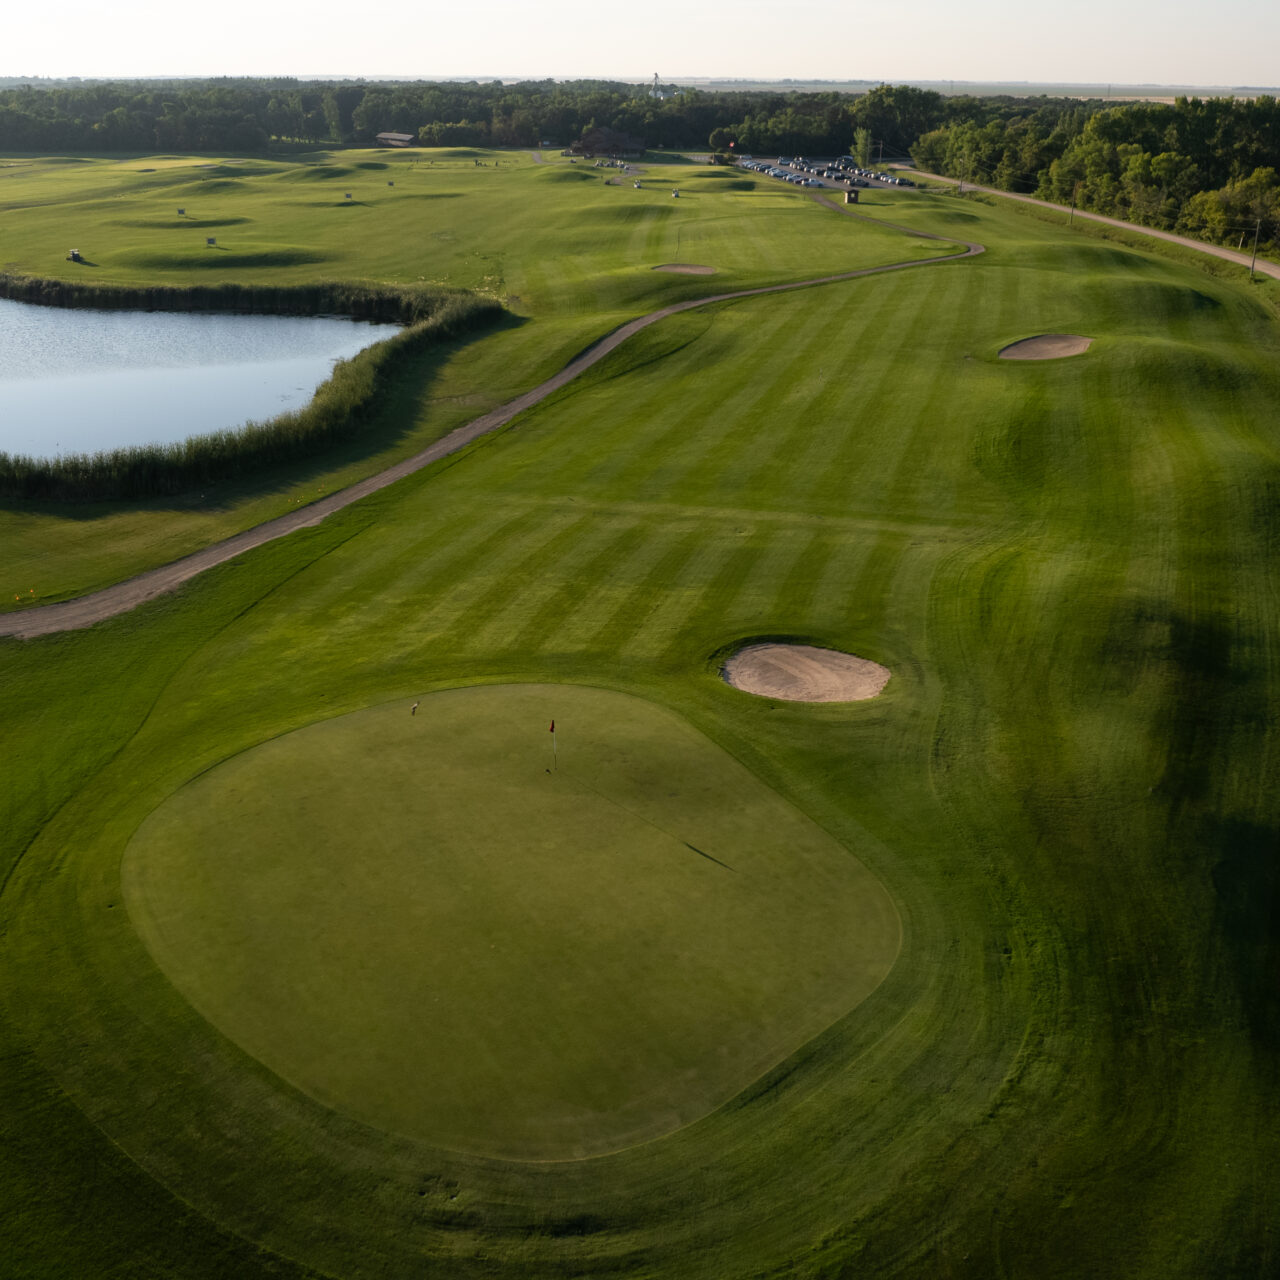
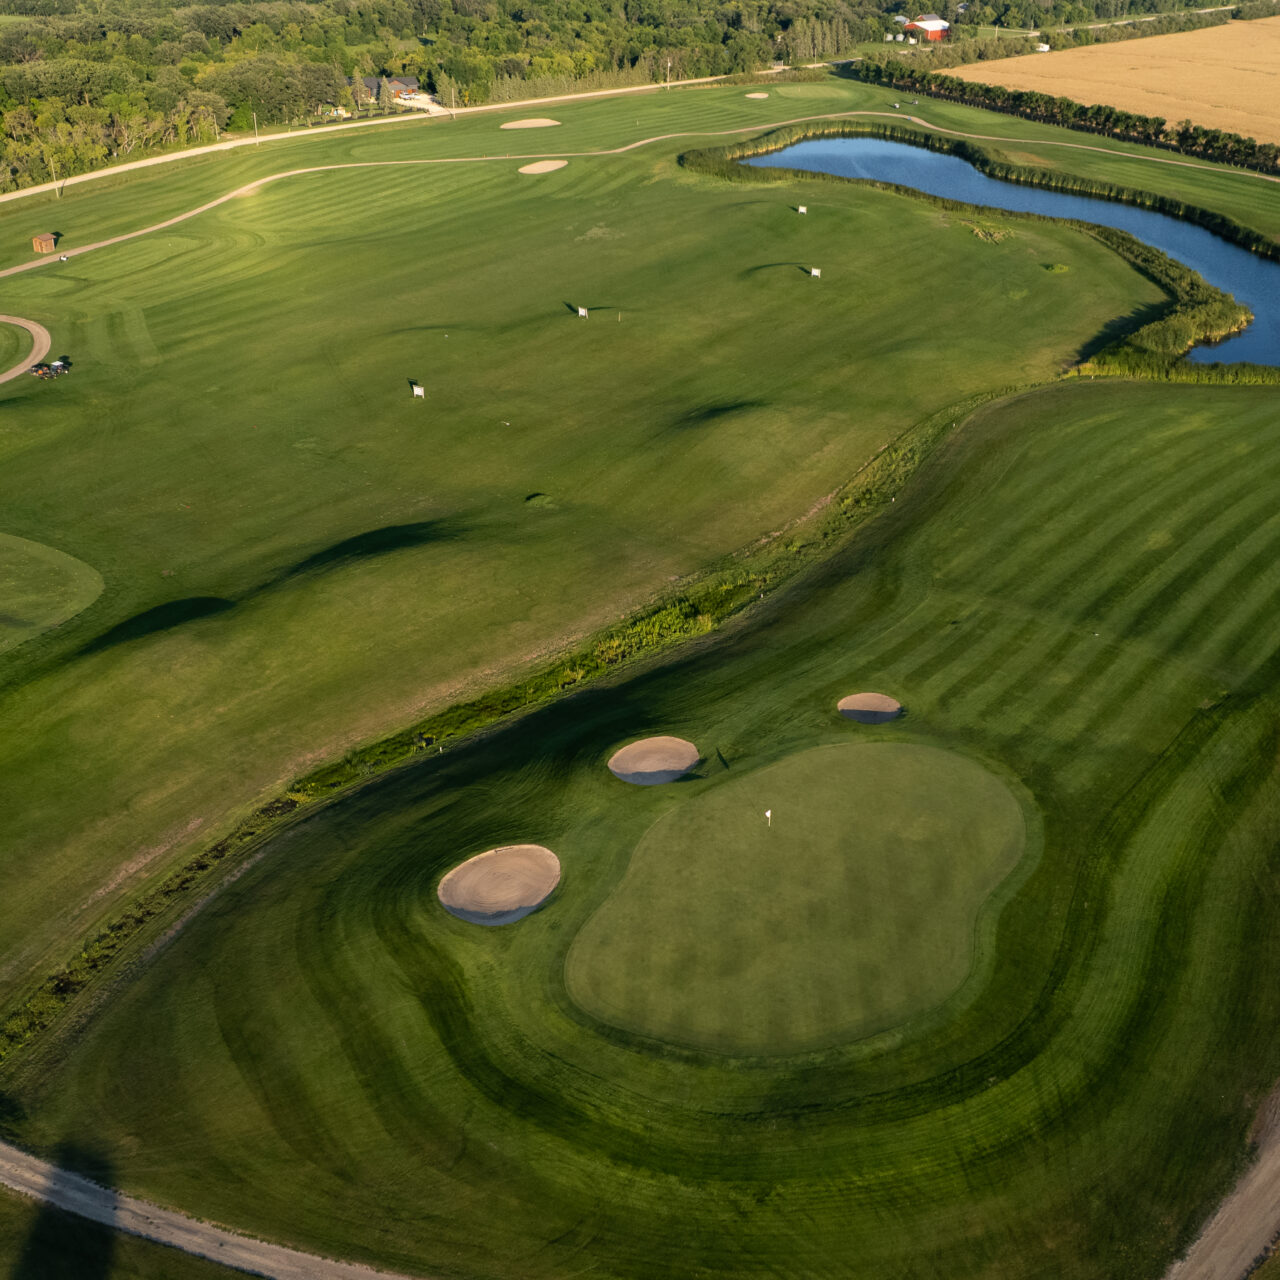
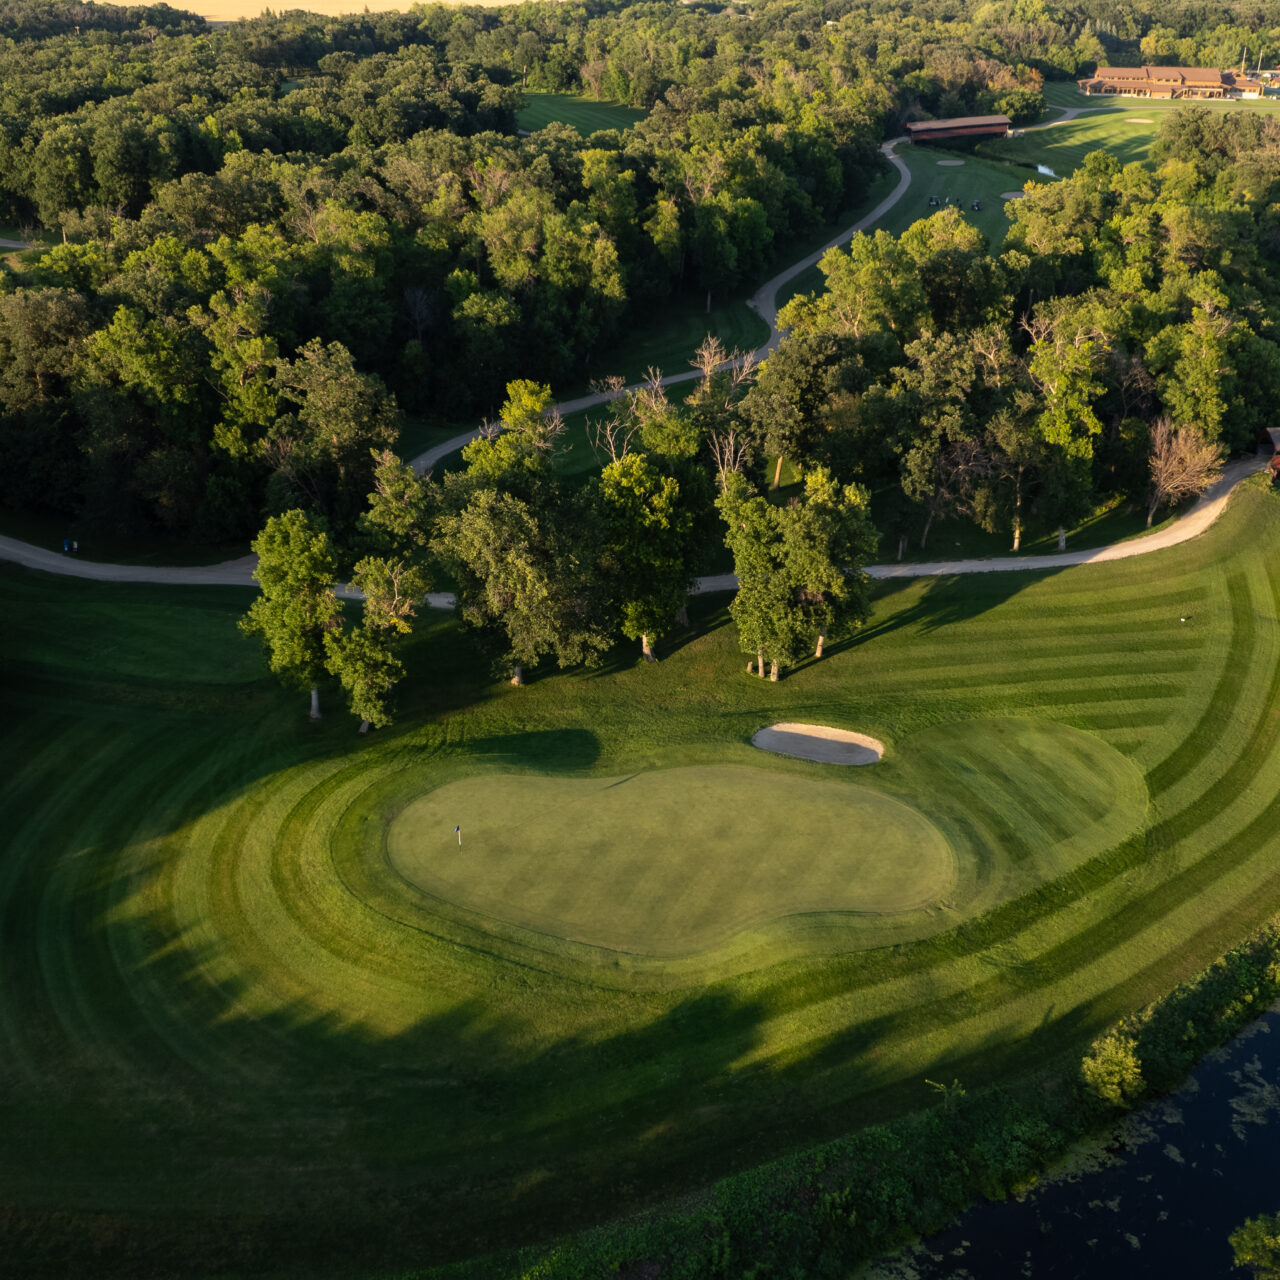
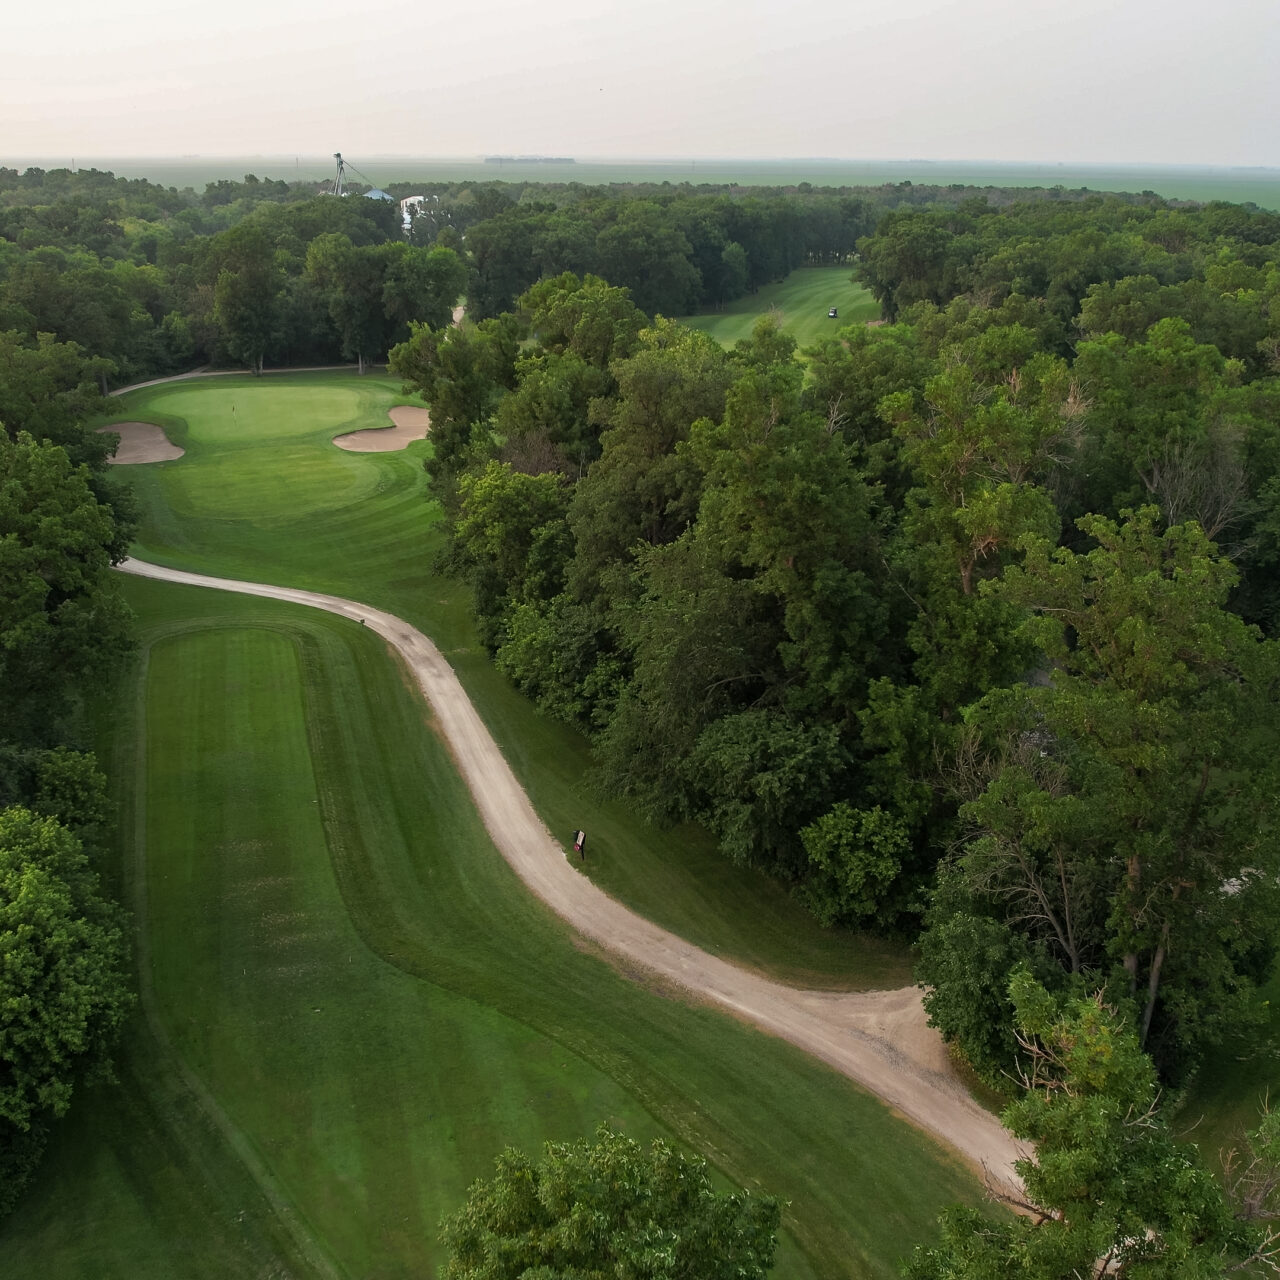
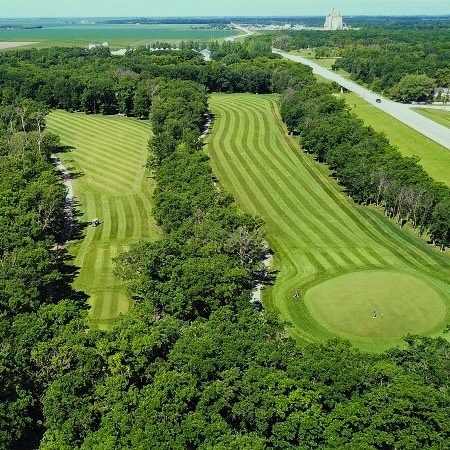
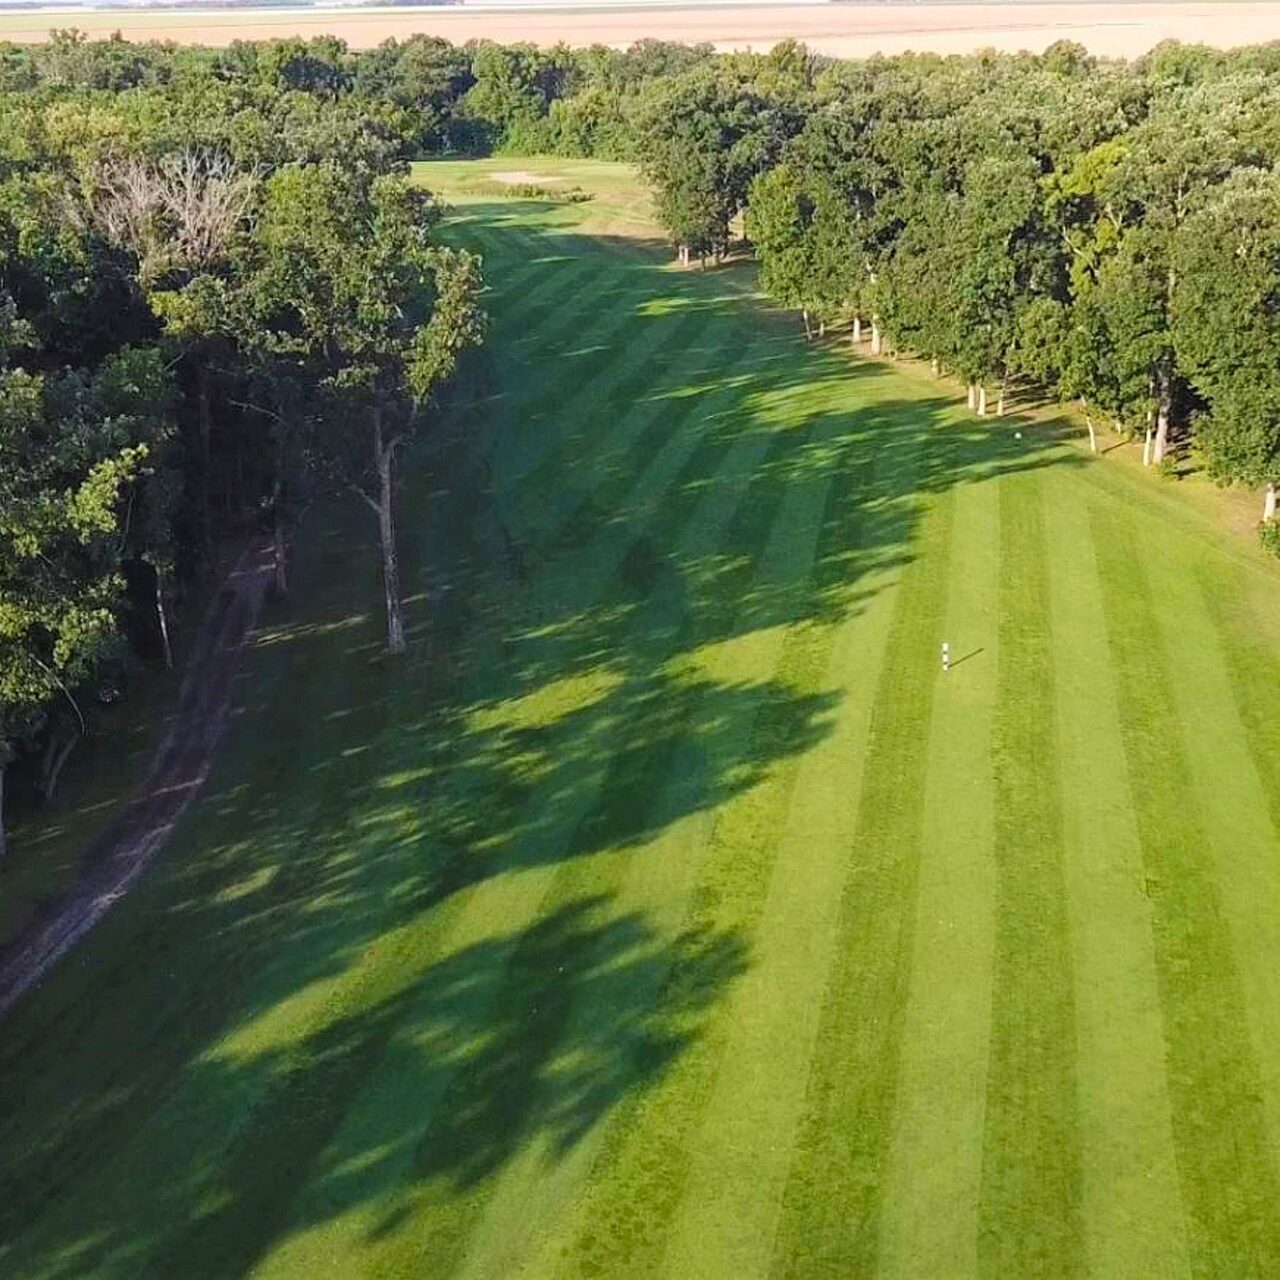
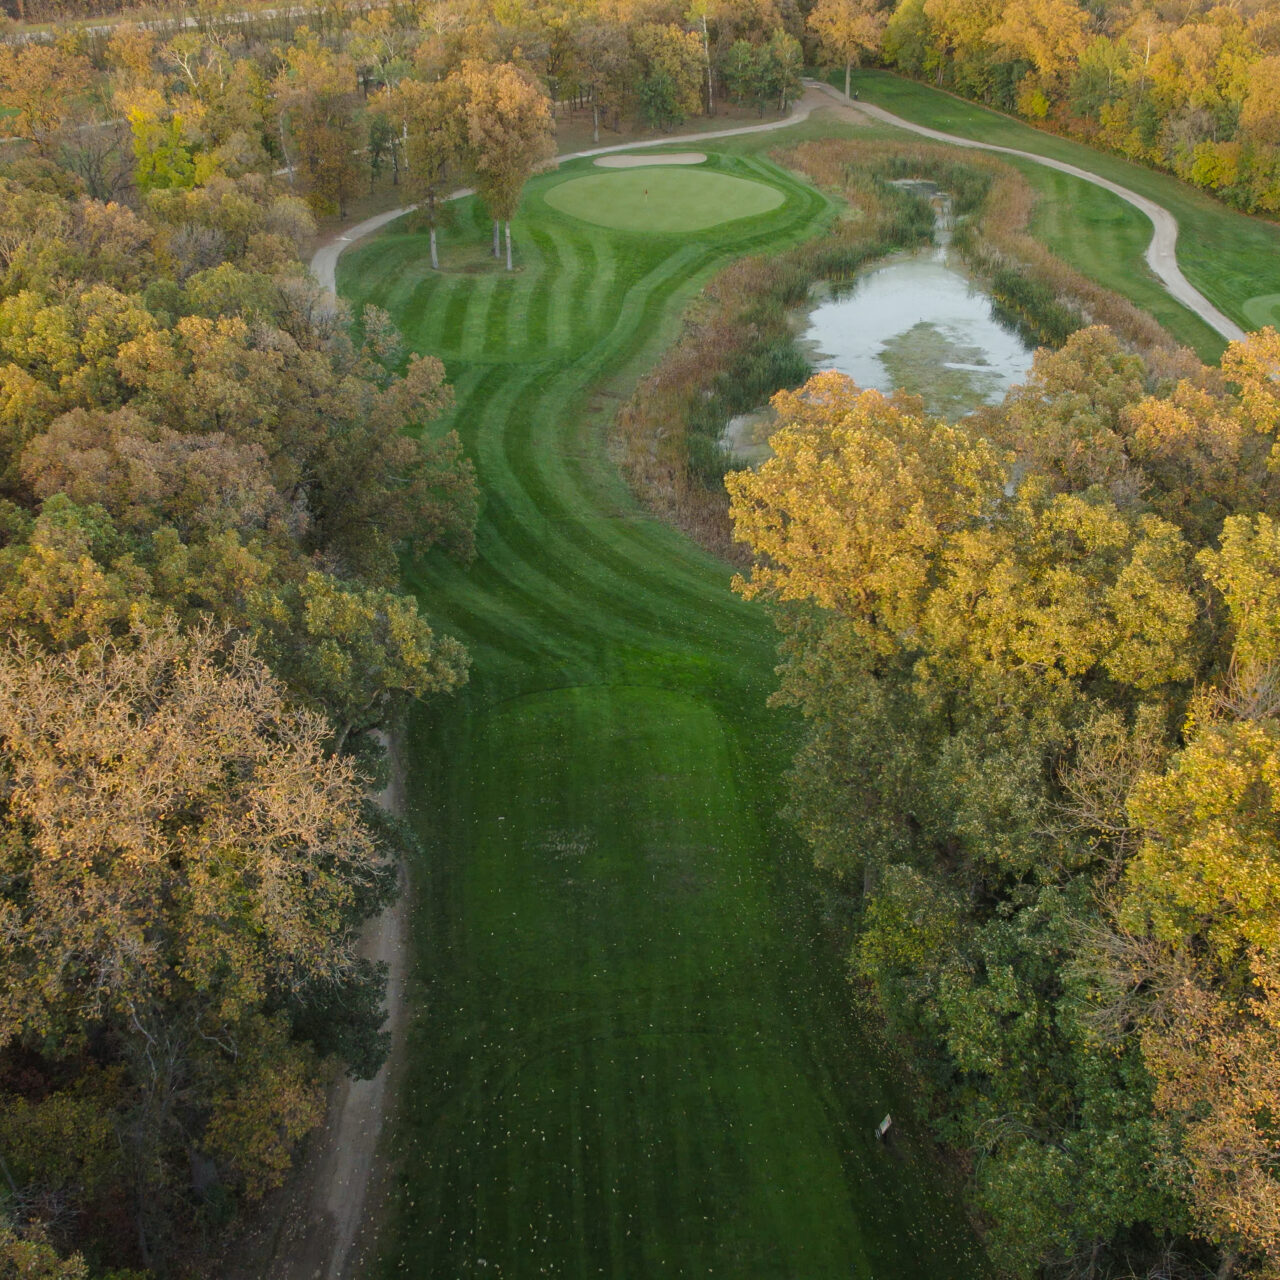
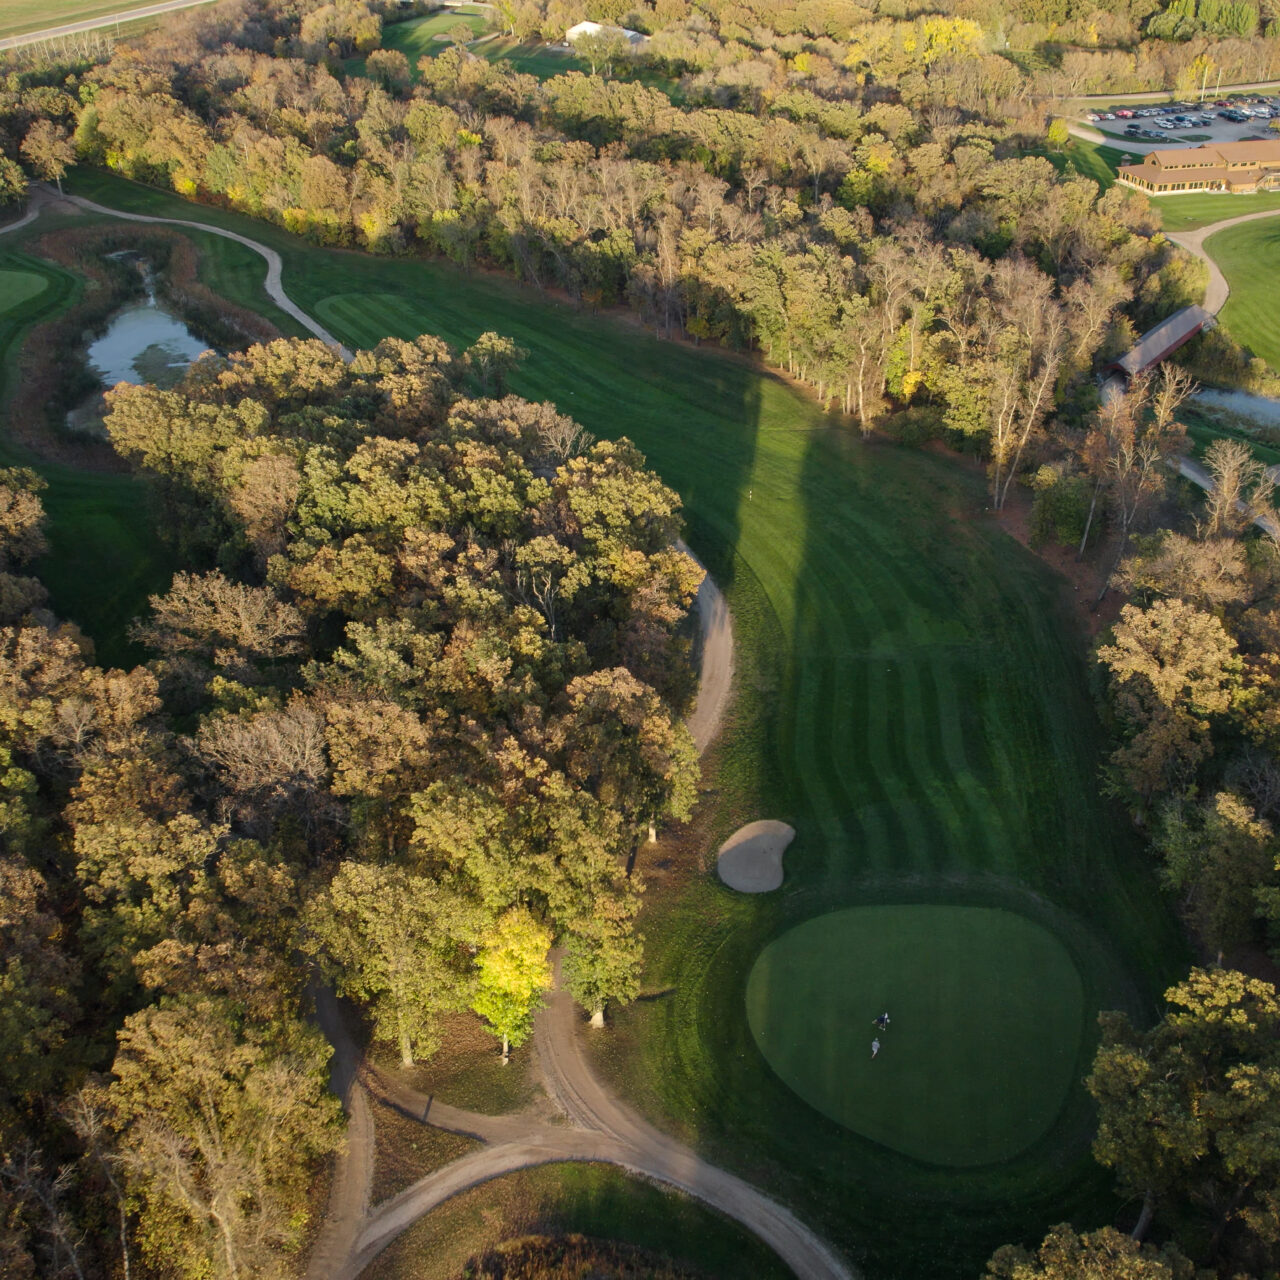
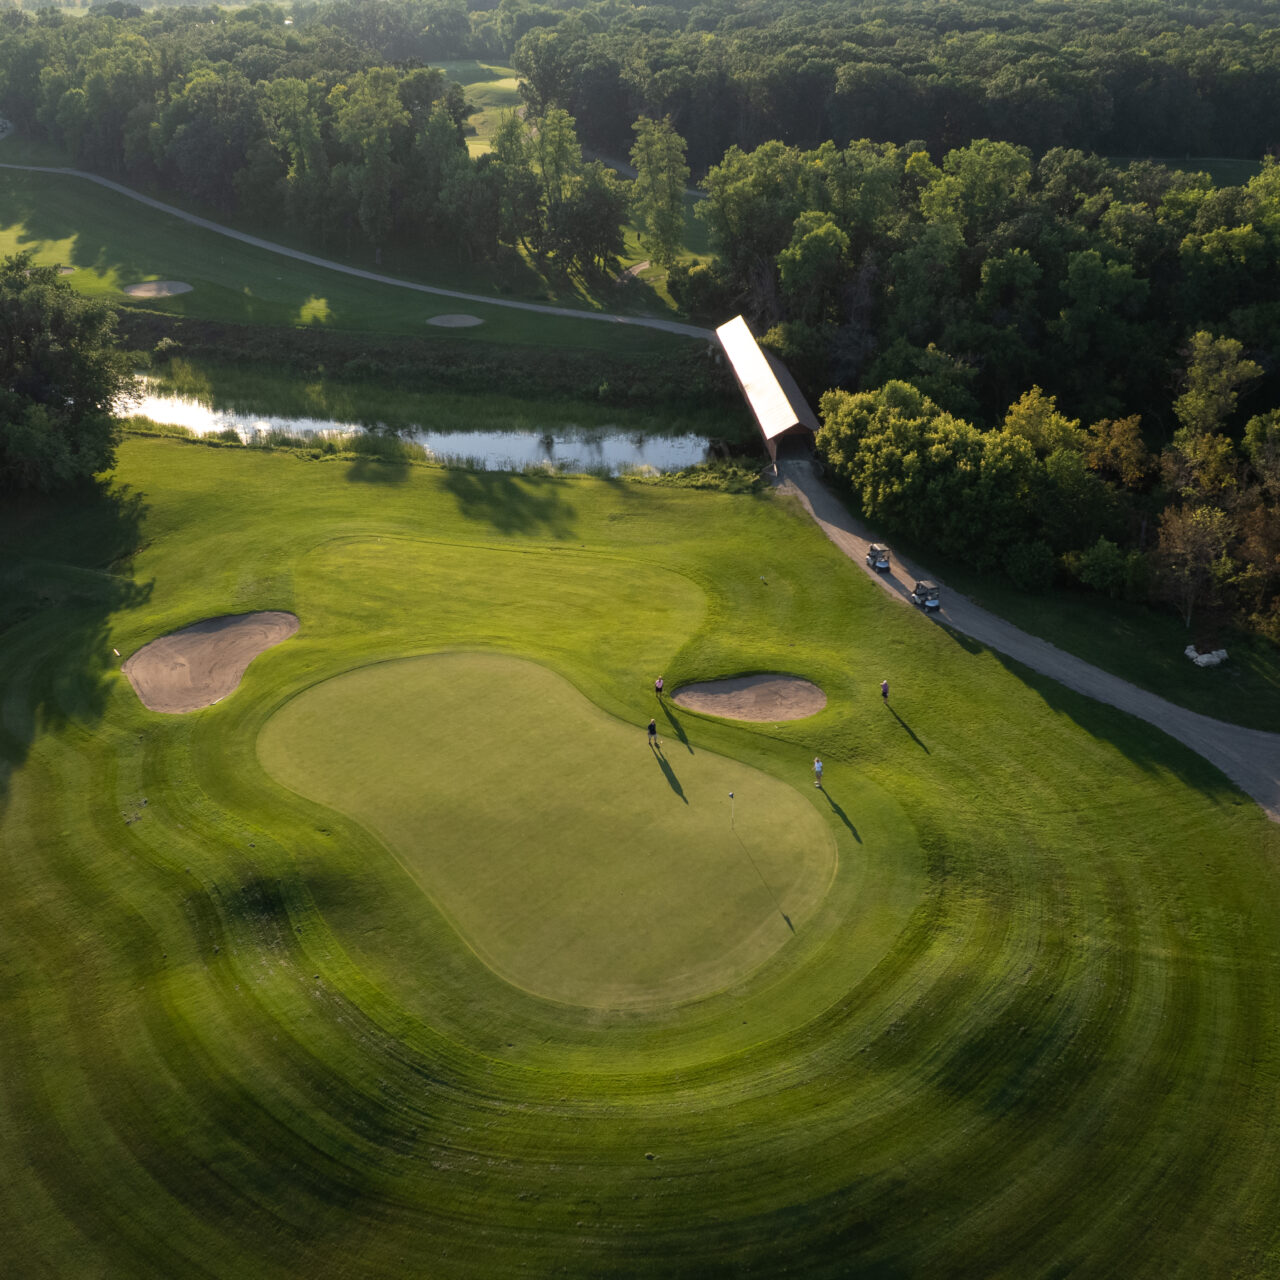
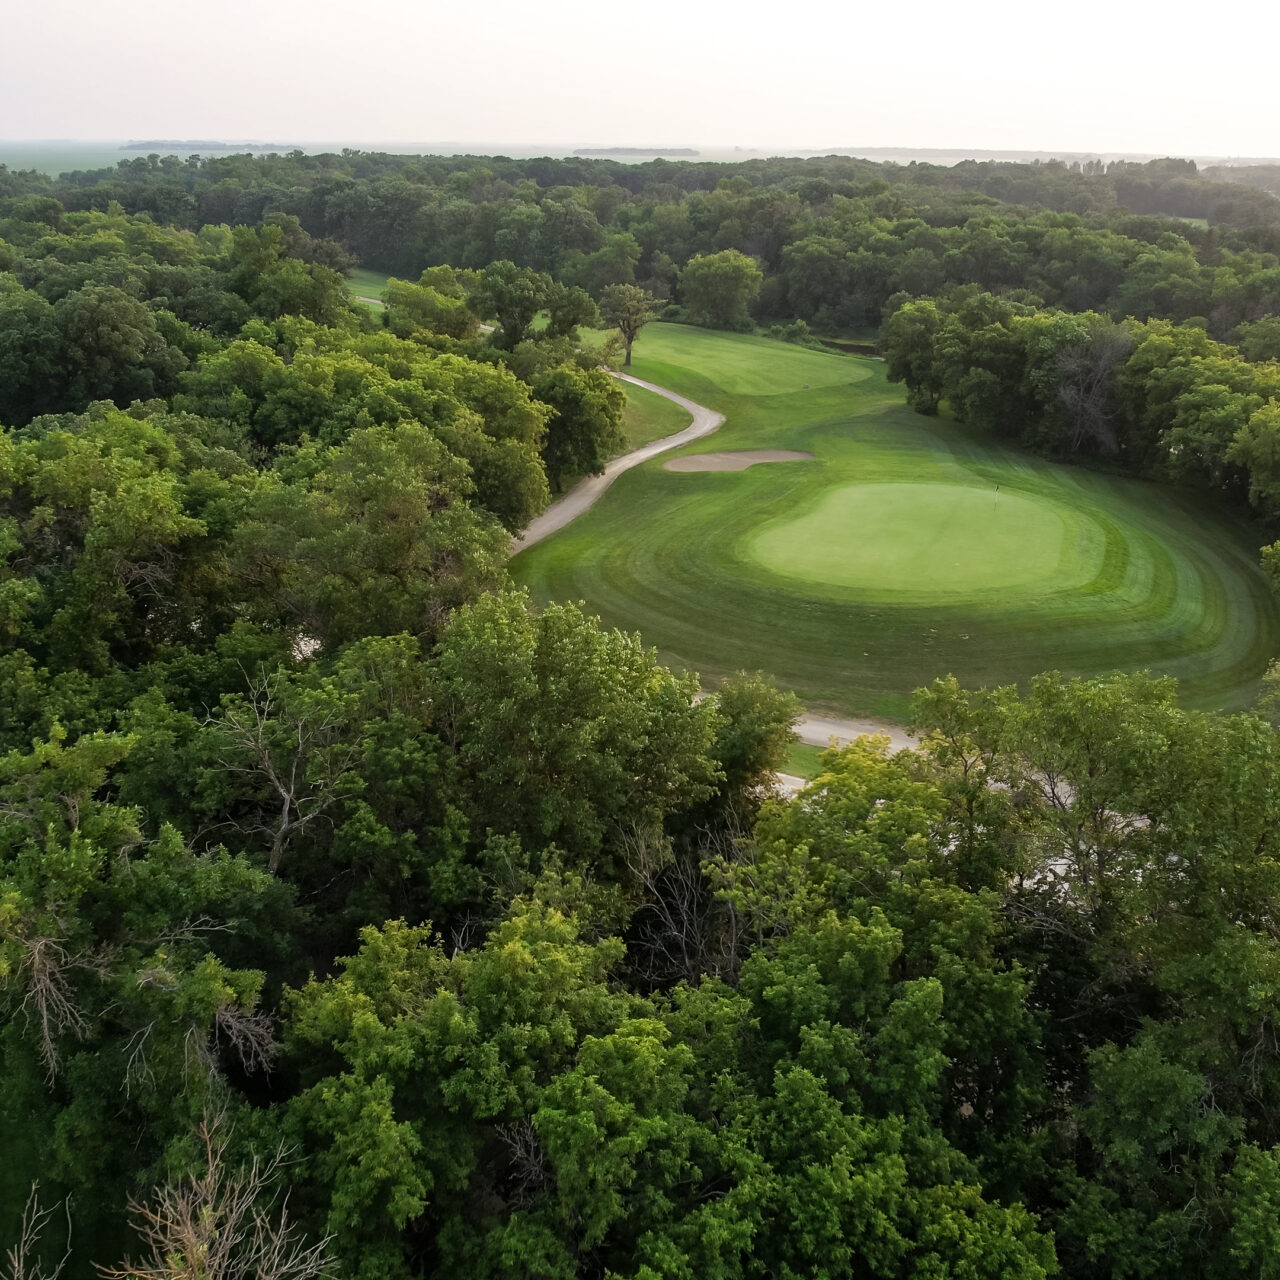
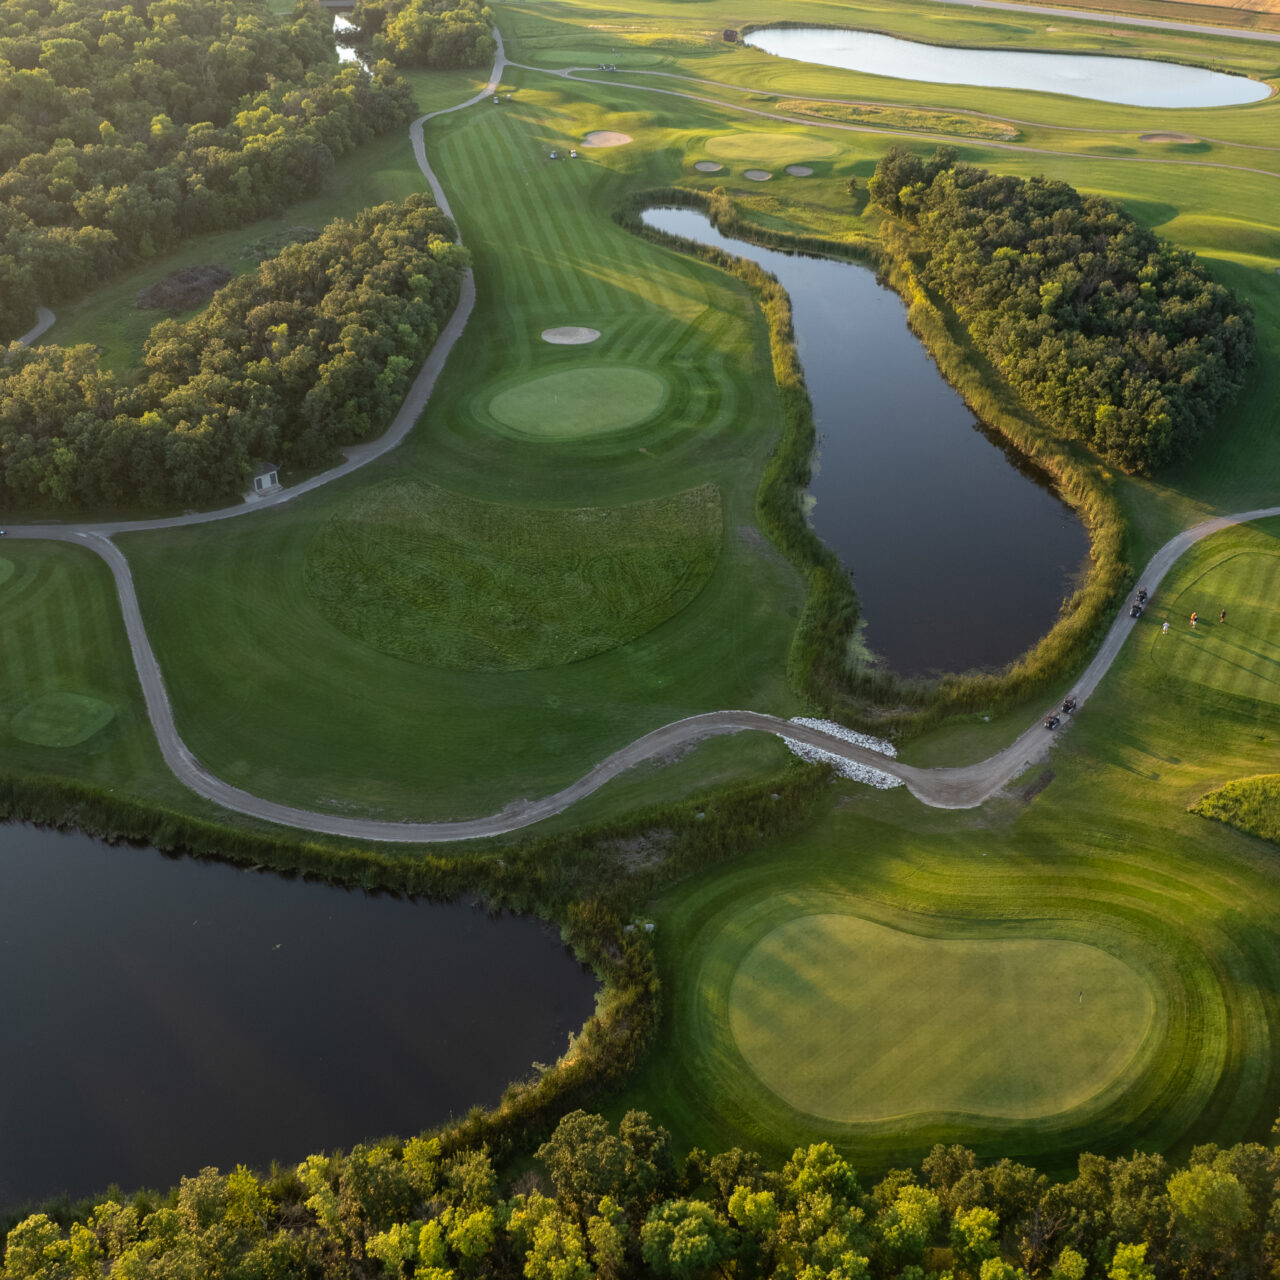
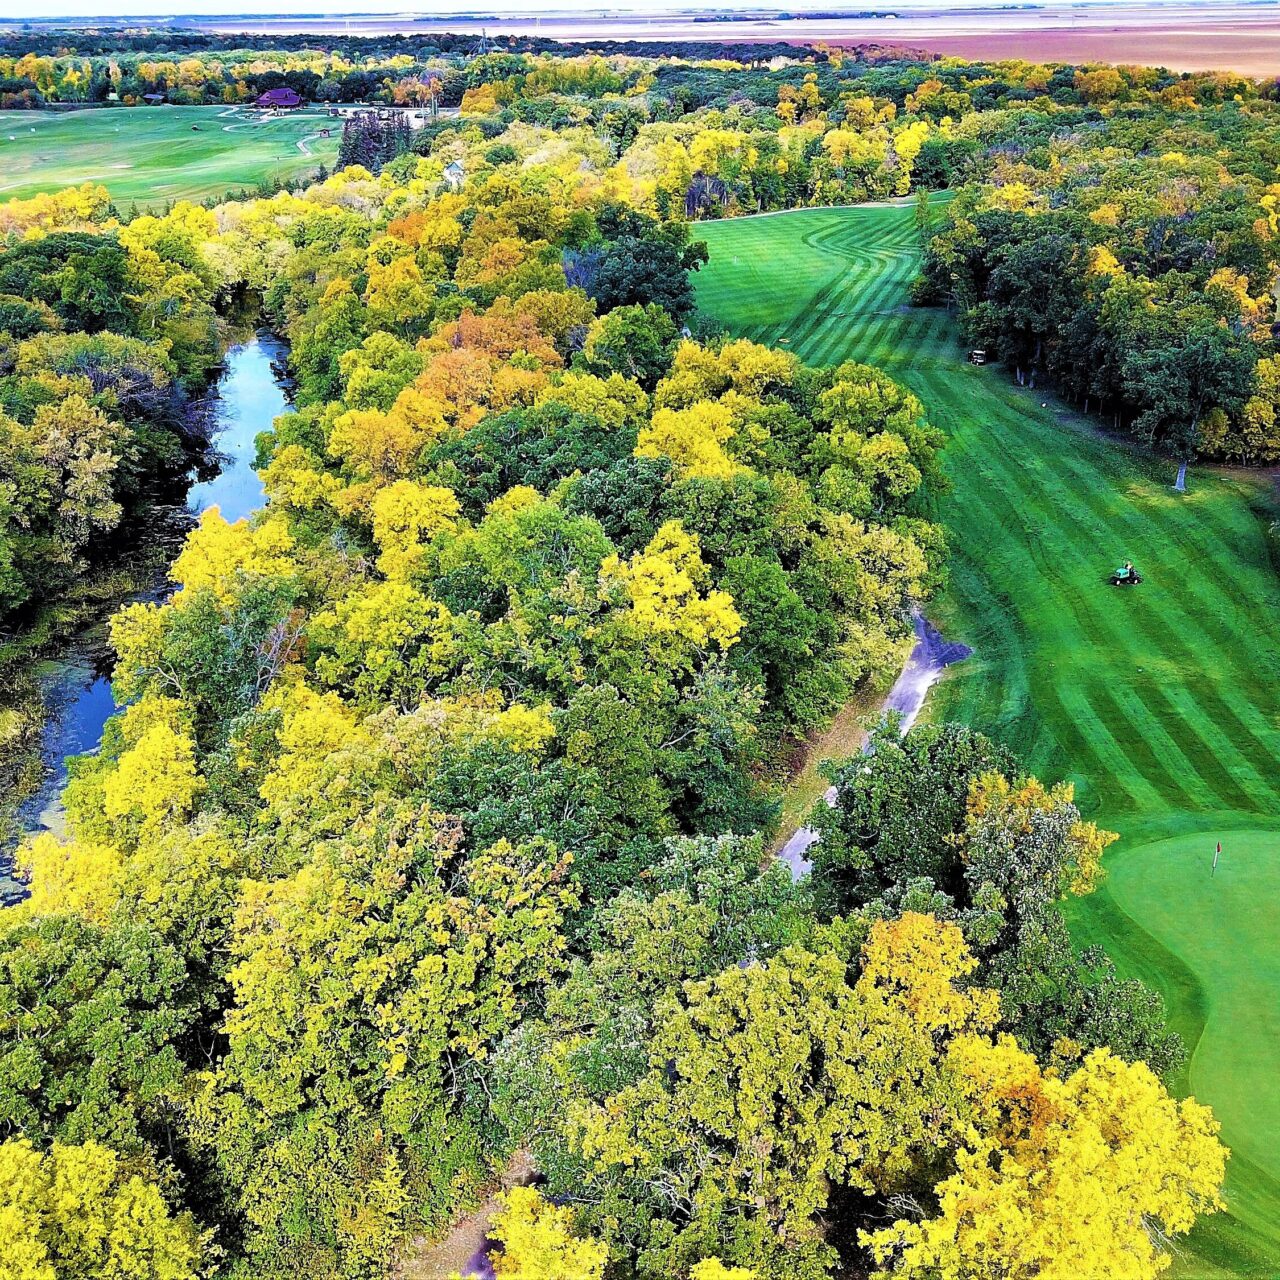
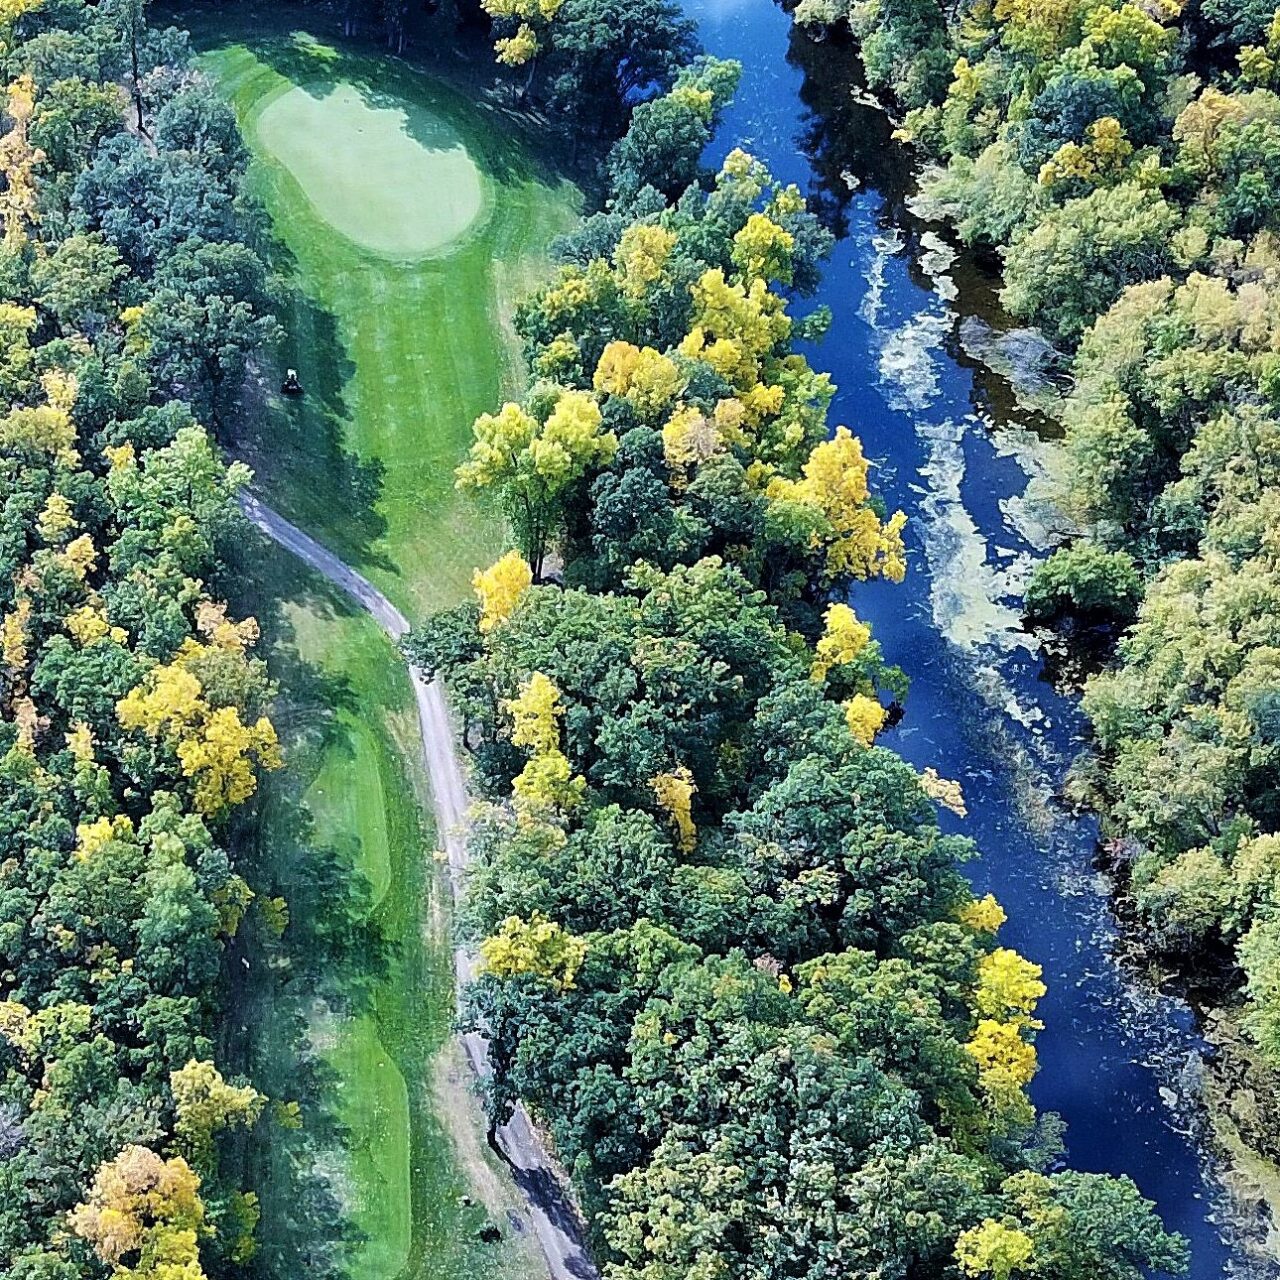
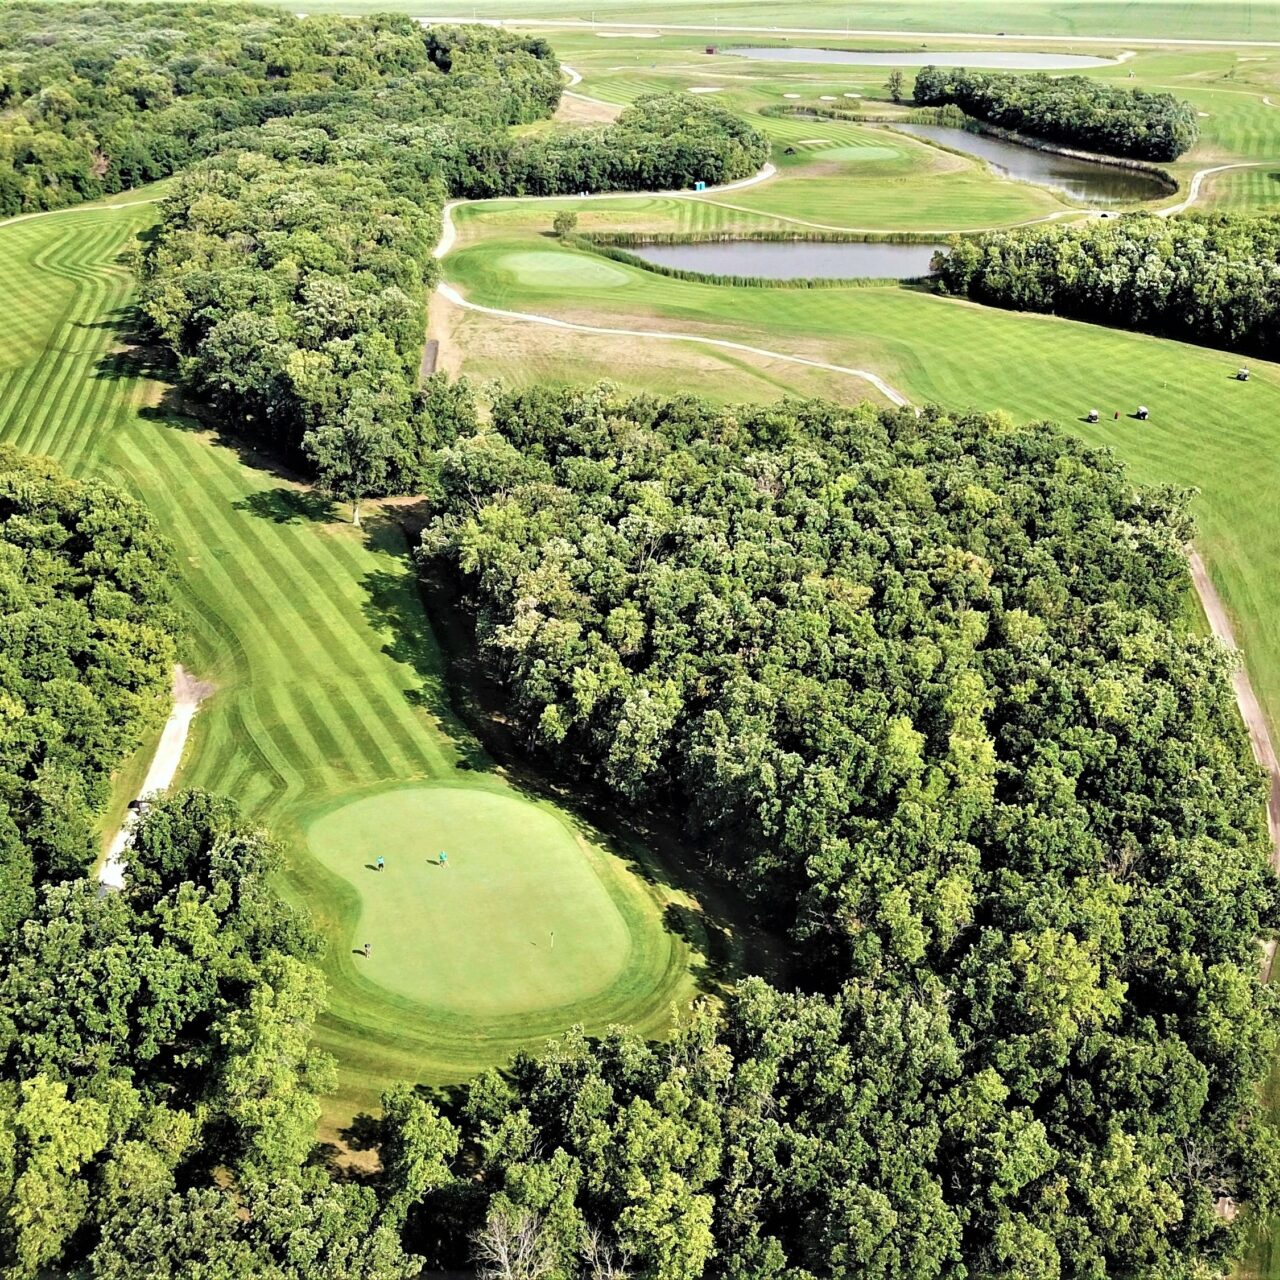
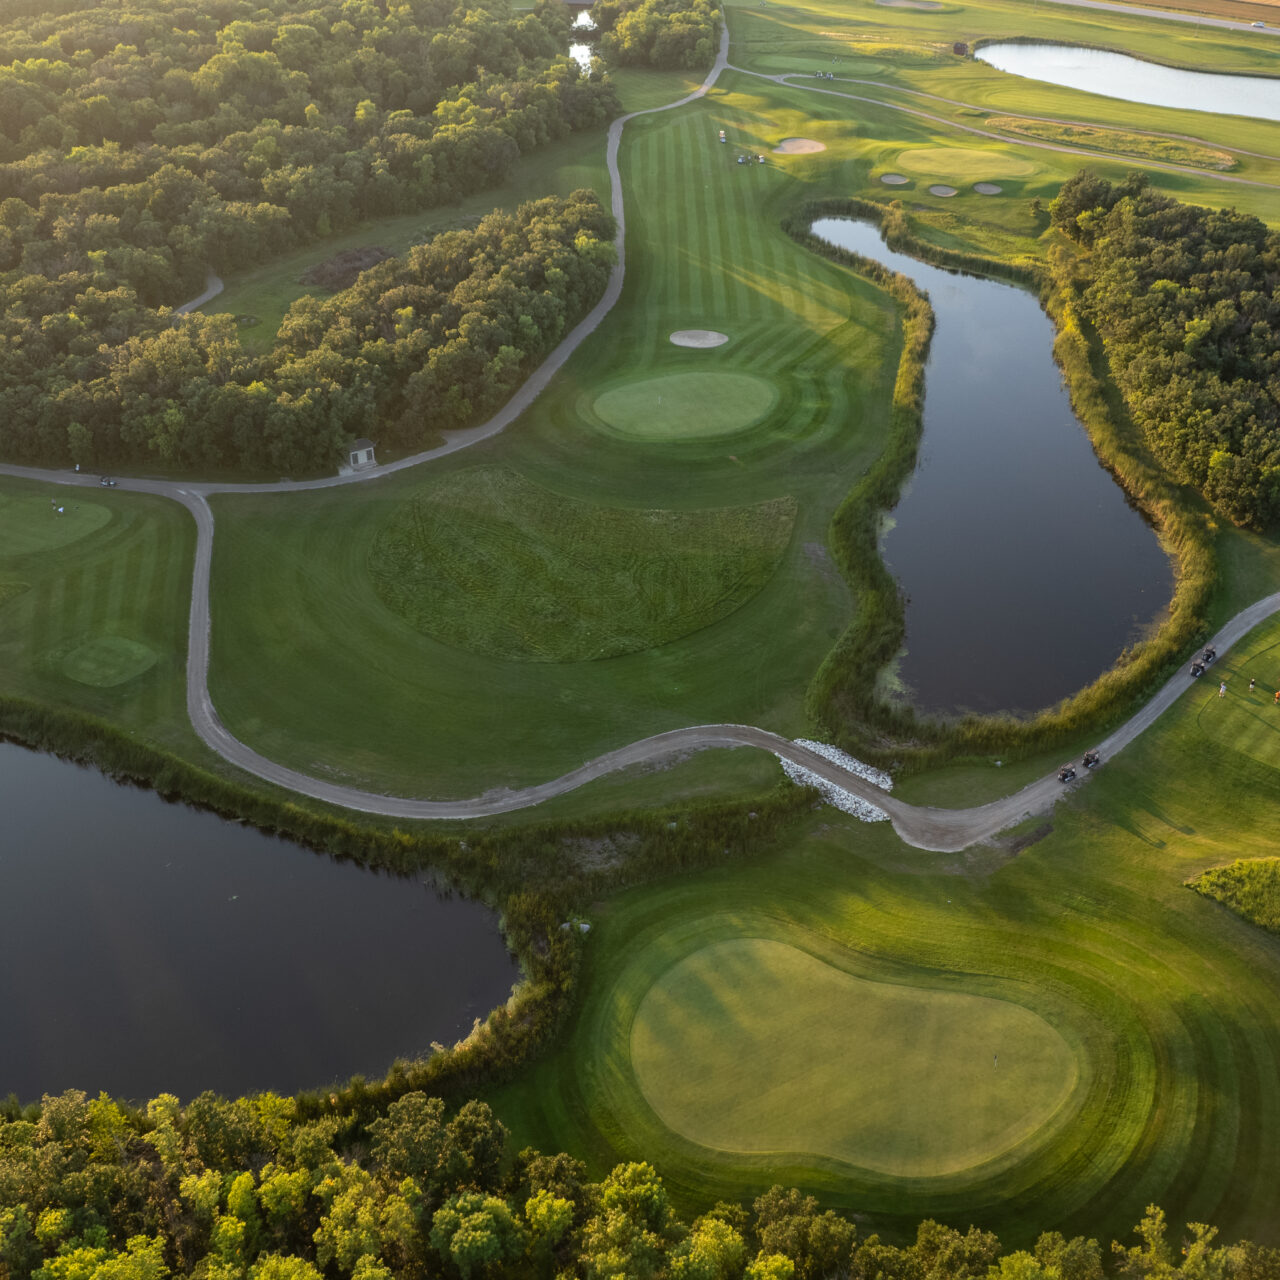
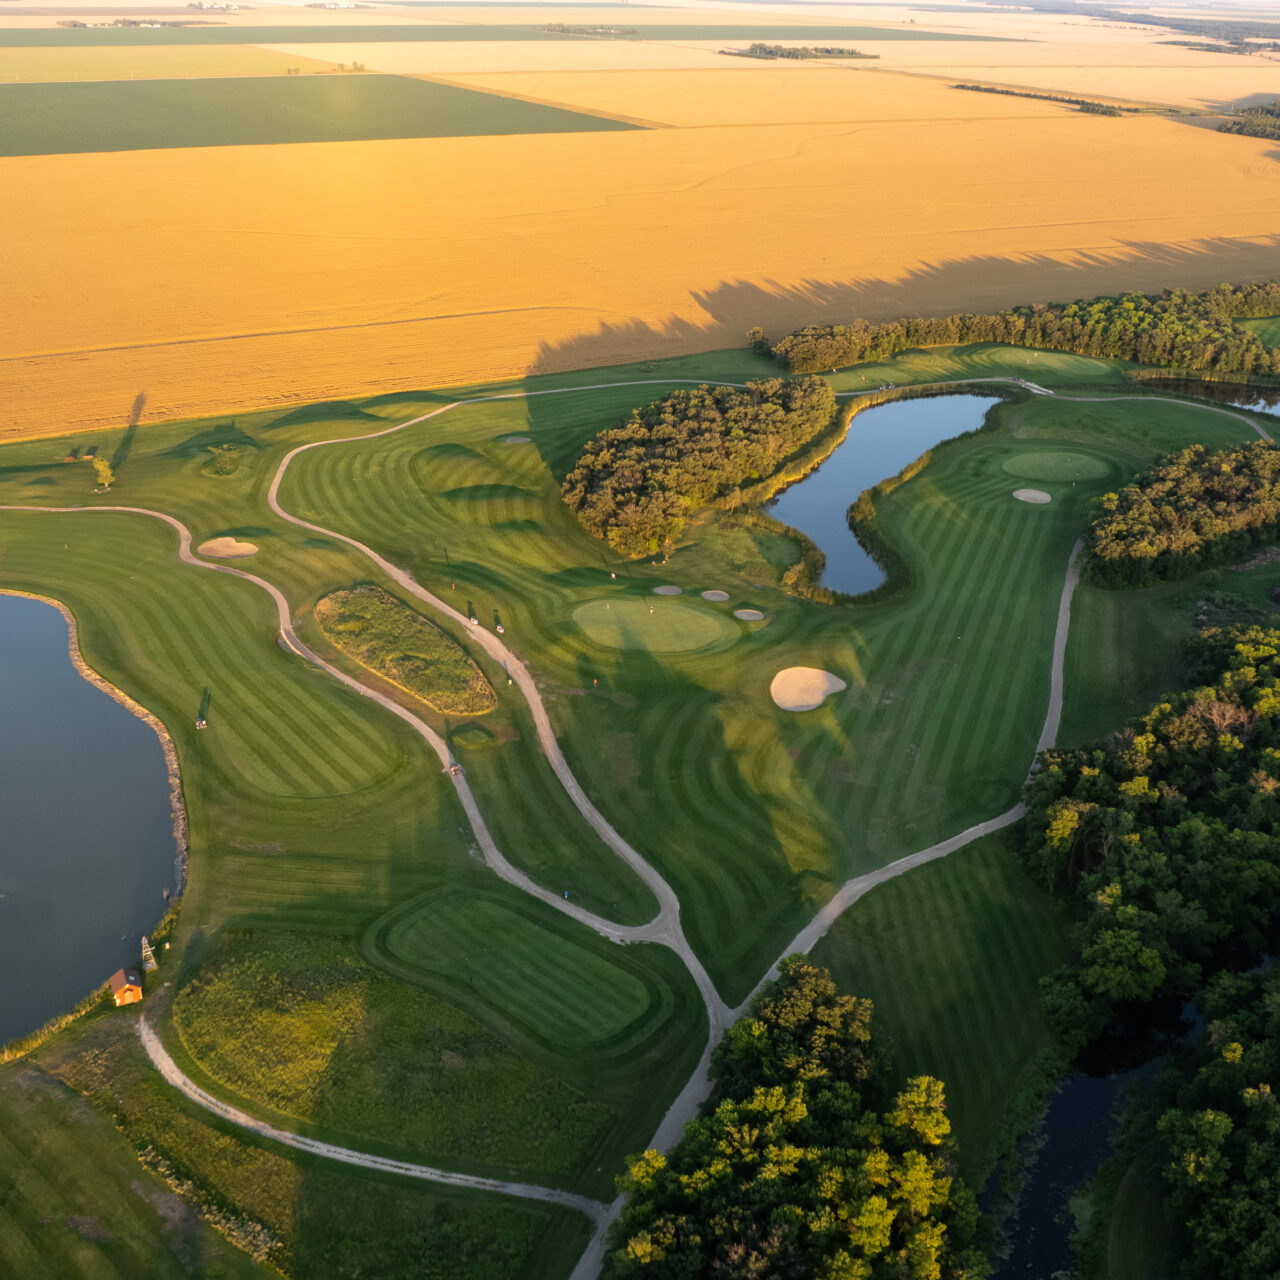
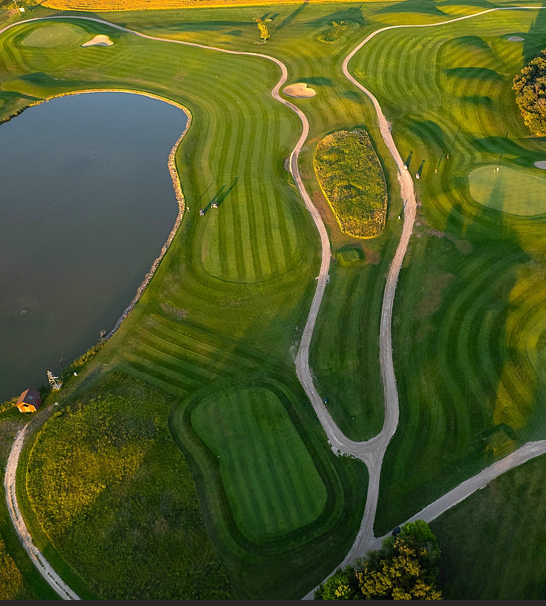
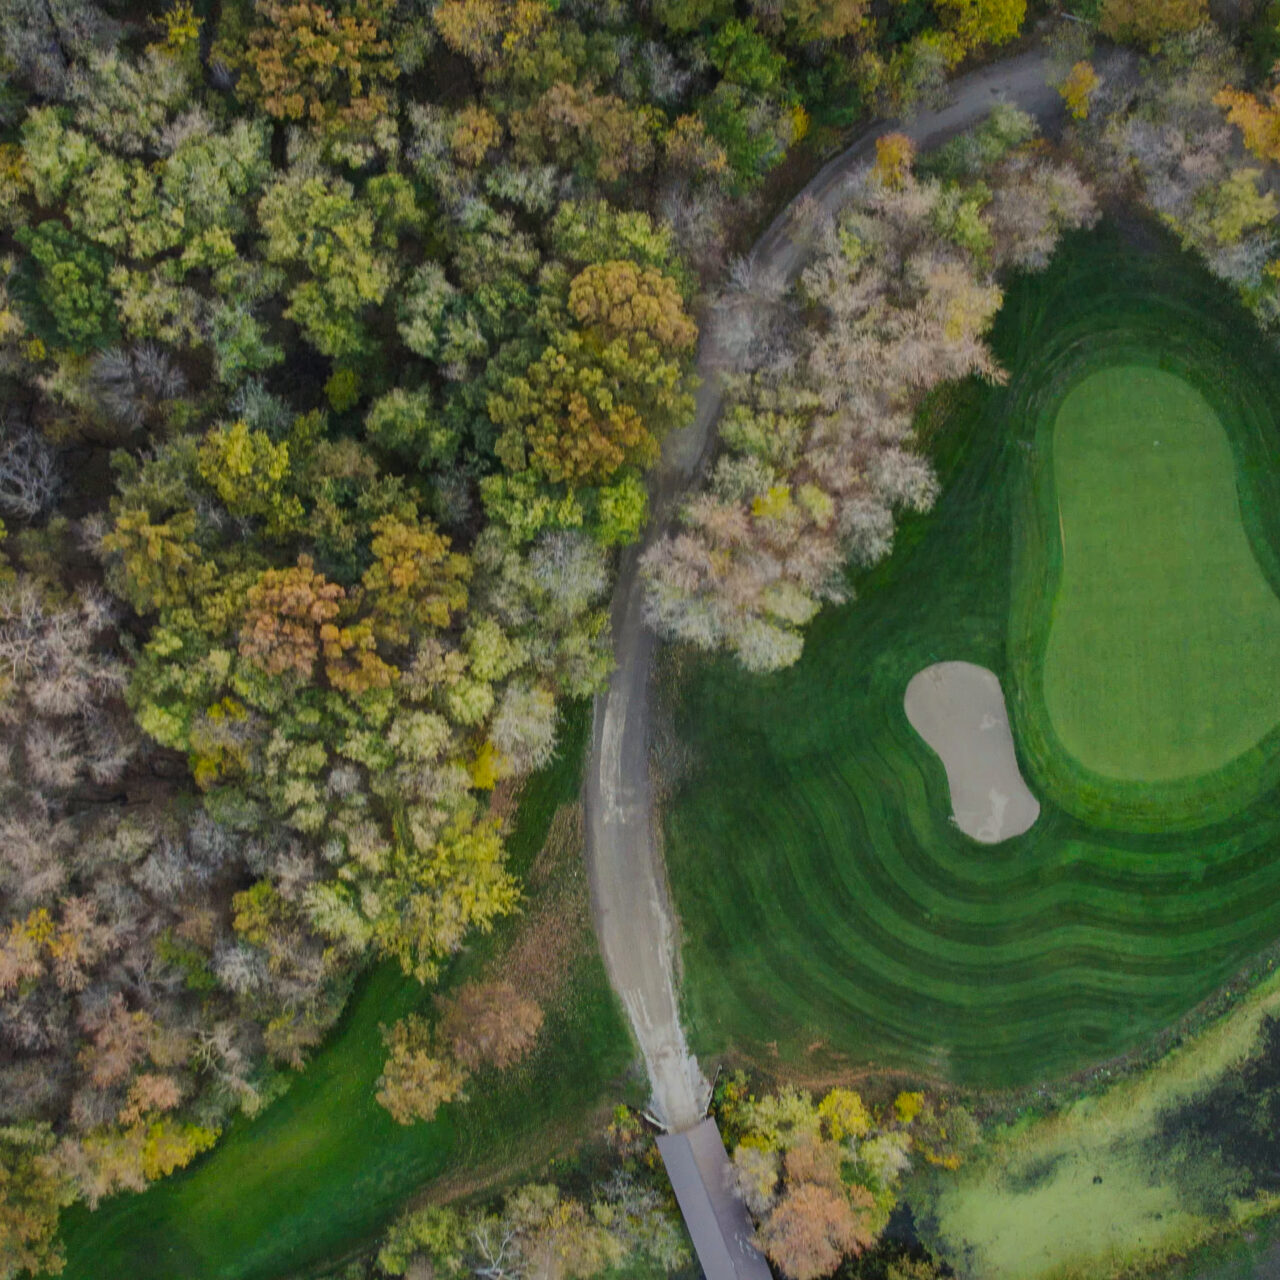
Bridges Golf Course presents a unique layout that combines both a traditional links style, with a challenging tree lined golfing experience. Set alongside the La Salle River, the course also calls for several approach and tee shots over the winding water feature. The championship design has 4 sets of tee boxes to accommodate golfers of every skill level, ranging from 5473 yards to a maximum yardage of just over 7000 yards from the furthest tees.

Bridges Golf Course has quickly become known as having the most pristine playing conditions of any public golf facility in Manitoba.

Click on Hole Photos below to see Videos.

#1

Par 4

The photo is from the first green back to the tee.
A slight dogleg to the right par 4 with a large pond guarding the right side of the fairway off the tee.

Hole Video

#2

Par 5

To the right of the picture is the second hole from the green back to the tee box. A hard dogleg to the right. A demanding tee shot (out of bounds to the left, water to the right). The same hazards face the golfer on their second and third shots.

Hole Video

#3

Par 4

Known as one of the most beautiful and demanding par fours in the province. The picture shows the landing area for your second shot to a raised green with trouble all around.
In this picture, the tee is back towards the clubhouse, out of bounds to the left, and trees to the right.

Hole Video

#4

Par 3

A pretty little par three playing from 100 to 151 yards. What you cannot see in the photo is that the LaSalle River is to the left of the green, and there is a good-sized pond to the 5.

Hole Video

#5

Par 5

The picture is from the green on the right, going straight back to the landing area at the corner of this sharp dogleg to the right. From the landing area, your next shot is to a slightly crowned fairway that sometimes seems impossible to hit. Pro Shop advice: if you are fortunate to make it to the corner off the tee, hit a 150-yard club for your second, not a fairway wood.

Hole Video

#6

Par 4

In the picture, the sixth hole is in the middle of the screen, where you can see the landing area straight ahead of the sharp dogleg to the left.
Pro Shop advice is to gear down a little off the tee with whatever club is your straightest. If you can get it close to the corner, more than half the battle has been won!

Hole Video

#7

Par 3

The green is protected on the right by water and by 3 large trees near the green.

Hole Video

#8

Par 4

The tee is in the top-middle/left corner of the photo. A dogleg to the right, which demands an accurate tee shot for the fairway slopes right to left off the tee.

Hole Video

#9

Par 4

From the green back to the tee, the LaSalle River must be crossed at some point, which is the biggest challenge of the hole.
Pro Shop Tip: When hitting to get over the river, usually add 2 clubs, as the green is raised and you cannot feel the wind from that position.

Hole Video

#10

Par 4

In the picture, you can see the green and some of the landing area off the tee. If you can hit a 175 straight shot off the tee, you have a good chance of making a par.

Hole Video

#11

Par 4

The hole is in the middle of the picture, from the green going back to the corner of this dogleg to the right. The Tee Box is not in the picture; it is located about 150 yards to the left of the corner, over the LaSalle River. One of our most demanding holes!

Hole Video

#12

Par 5

A hard dogleg to the left off the tee. This is one of the most demanding holes. If you hit a good drive your second shot is just as difficult as the fairway narrows as you get closer to the green. It is hard, but beautiful!

Hole Video

#13

Par 3

It is a straightforward par 3, but please note that the green slopes toward the LaSalle River (to the right of the green). Both when trying to hit the green and for sure when you are putting.

Hole Video

#14

Par 4

The hole is on the right side of the photo. A dogleg left when the fairway slopes to the right makes the tee shot very difficult. You may aim for the left-hand corner of the fairway and even over the trees on the corner off the tee, especially from the forward tees, for the fairway opens up considerably more than you think!

Hole Video

#15

Par 3

The tee is in the bottom-left corner of the picture, and the green is mostly centered. The pond isn’t really in play, except in our minds, and the green is protected in front by a small creek.

Hole Video

#16

Par 4

The 16th. Green is directly in the middle of this photo and bends back to the right to the tee.
All the young guys try to carry it over the small lake to reach the green, but the hole plays as a dogleg to the left off the tee.

Hole Video

#17

Par 4

To the left on the screen, 17 is a true risk-and-reward hole; take as much of the corner off by the Lake as you dare, or play it smart to the middle-right of the fairway.

Hole Video

#18

Par 5

This is a straightaway par 5 until you have to hit it over the river one more time when approaching the green,
It seems difficult to hit enough club when finally approaching the green. The green is raised considerably, and we suggest 1or 2 more clubs. You will be surprised by the results!

Hole Video

Sign up to our newsletter to receive pro tips, special offers, and the latest news.

  • This field is for validation purposes and should be left unchanged.